GETTING READY FOR YOUR INSTALLATION
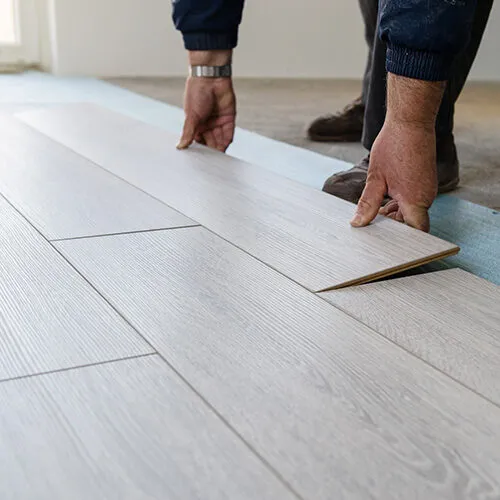
Laminate flooring is designed for a “floating” installation that doesn’t require glue, nails or staples. Instead, laminate boards have a unique tongue-and-groove profile that connects by simply locking edges into place for a firmly fastened surface. Once complete, the entire floor “floats” above the subfloor, expanding and contracting with changes in temperature and humidity in your home.
Simply prep for your new laminate flooring installation by moving furniture out of the spaces to be renovated. Make sure all wall hangings and other decor are safely stored away.


DURING YOUR INSTALLATION
The versatility of floating floor installation allows it to be installed directly over various existing floors, including wood, concrete, vinyl tile and vinyl sheet, even carpet. That means we may not have to pull up old flooring or deal with the mess of repairing a damaged subfloor before installing your new laminate floor.
We’ll start by ensuring that the subfloor is structurally sound, dry, clean, and flat. An underlayment will be laid to serve as a moisture barrier and will help quiet floors in areas with heavy foot traffic. This will also make your laminate floor sound and feel more like a real hardwood floor.
At Cherry City Interiors, we conduct subfloor moisture testing as a standard to ensure a successful installation that we can guarantee to last and perform.
AFTER YOUR LAMINATE INSTALLATION
After installation, if you are sensitive to dust and odors, we recommend that you establish good ventilation for 48 to 72 hours to allow dust to settle.
We’re happy to answer any questions you may have about the maintenance of your new laminate floors!

Our Brands


